Create Z2MQTT broker on RPI
This guide is for setting up a raspberry pi as a z2mqtt broker. This allows you to use the rpi as a “zigbee hub” separate from your home assistant server.
Materials#
- Raspberry Pi
- Usb zigbee dongle
- I used the Sonoff Dongle-E
- Zigbee devices
- Ex: philips hue bulb
Prerequisites#
- Home Assistant set up
- Install Rpi OS Lite (64) on the pi
- During installation, press “edit settings”
- set the hostname, username, password, and wifi info (if necessary)
- under services, enable ssh
- Determine the ip adress of the pi
- SSH into the pi
- Install docker on the raspberry pi
ssh [email protected]Step 1: Flash updated firmware on the zigbee stick#
Download the latest firmware from here: https://github.com/darkxst/silabs-firmware-builder/tree/main/firmware_builds/zbdonglee
Make sure the version number is at least 7.4.*, and the baud rate is 115200.
Go to the web flasher: https://darkxst.github.io/silabs-firmware-builder/
Connect your zigbee stick, press connect, and upload your custom firmware that you downloaded (it will suggest a zigbee firmware, but the version is too old to work with z2m, so use the one you downloaded that is at least 7.4.*)
When done, plug the stick into the rpi.
Step 2: Identify mount point for zigbee stick#
On the rpi, run the following command:
ls -lrt /dev/serial/by-id/Your output should look something like this:
*TODO*
Step 3: Set up z2m#
Create a directory, and create your docker compose file inside.
mkdir z2mqtt-broker
cd z2mqtt-broker
vi docker-compose.yml
version: '3.8'
services:
mqtt:
image: eclipse-mosquitto:2.0
restart: unless-stopped
volumes:
- './mosquitto-data:/mosquitto'
ports:
- '1883:1883'
- '9001:9001'
command: 'mosquitto -c /mosquitto-no-auth.conf'
zigbee2mqtt:
container_name: zigbee2mqtt
restart: unless-stopped
image: koenkk/zigbee2mqtt
volumes:
- ./zigbee2mqtt-data:/app/data
- /run/udev:/run/udev:ro
ports:
- 8080:8080
environment:
- TZ=America/Los_Angeles
devices:
- /dev/ttyACM0:/dev/ttyUSB0Make sure your timezone and usb path (devices, left side) are accurate to your setup.
mkdir zigbee2mqtt-data
vi zigbee2mqtt-data/configuration.yaml
# Let new devices join our zigbee network
permit_join: true
# Docker Compose makes the MQTT-Server available using "mqtt" hostname
mqtt:
base_topic: zigbee2mqtt
server: mqtt://mqtt
# Zigbee Adapter path
serial:
adapter: ember
port: /dev/ttyACM0
# Enable the Zigbee2MQTT frontend
frontend:
port: 8080
# Let Zigbee2MQTT generate a new network key on first start
advanced:
network_key: GENERATEStart up your z2m instance
docker compose up -d
docker compose logs -f
If everything was set up correctly, you should be able to access the z2m frontend in a browser by going to the ip of the rpi
192.168.0.59:8080
Step 4: Connect device#
Turn on your zigbee device (ex: screw in light bulb). Within moments, it should show up on the z2m frontend page. From there you can control/rename it.
Step 5: Connect to home assistant#
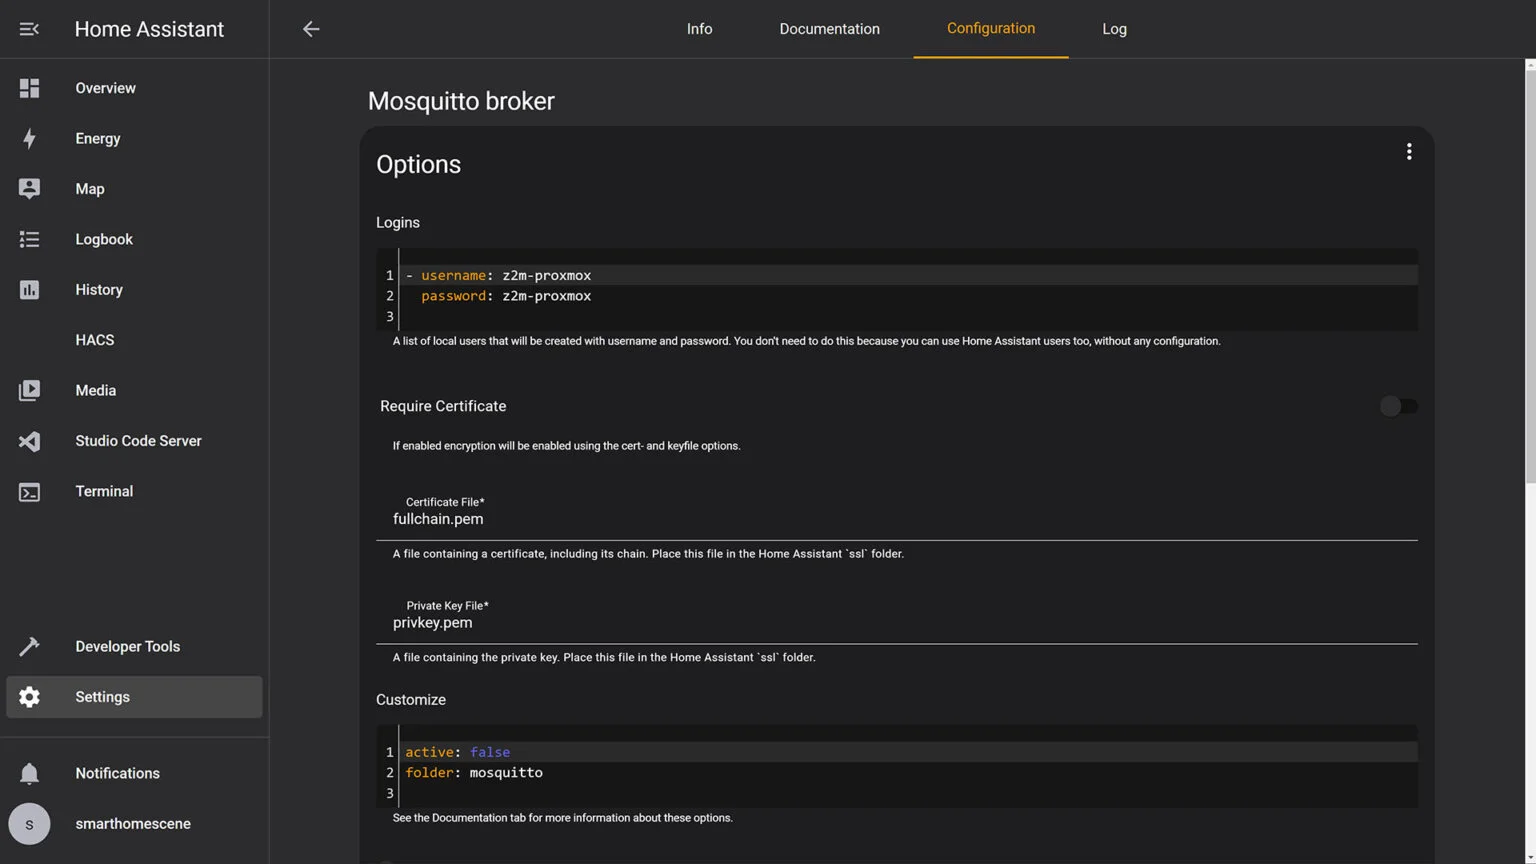
On home assistant, under add-ons, install Mosquitto Broker (MQTT). In configuration, add a username and password
In your z2m configuration yaml, make the following changes:
- server: no longer just mqtt, now the address of your home assistant server
- user/password: what you just set in the previous step
- homeassistant: true
permit_join: true
mqtt:
  base_topic: zigbee2mqtt
  server: mqtt://192.168.0.206:1883
  user: z2m-dupac
  password: z2m-dupac
serial:
  adapter: ember
  port: /dev/ttyACM0
frontend:
  port: 8080
advanced:
  network_key:
****
  homeassistant_legacy_entity_attributes: false
  legacy_api: false
  legacy_availability_payload: false
device_options:
  legacy: false
devices:
  '0x001788010db3bb7a':
    friendly_name: office lamp
    homeassistant:
      name: office lamp
    legacy: false
    optimistic: true
homeassistant: true
Restart your z2m instance:
docker compose down
docker compose up -d
docker compose logs -f
Your zigbee devices (and the raspberry pi “hub”) should now show up as discovered devices in home assistant.

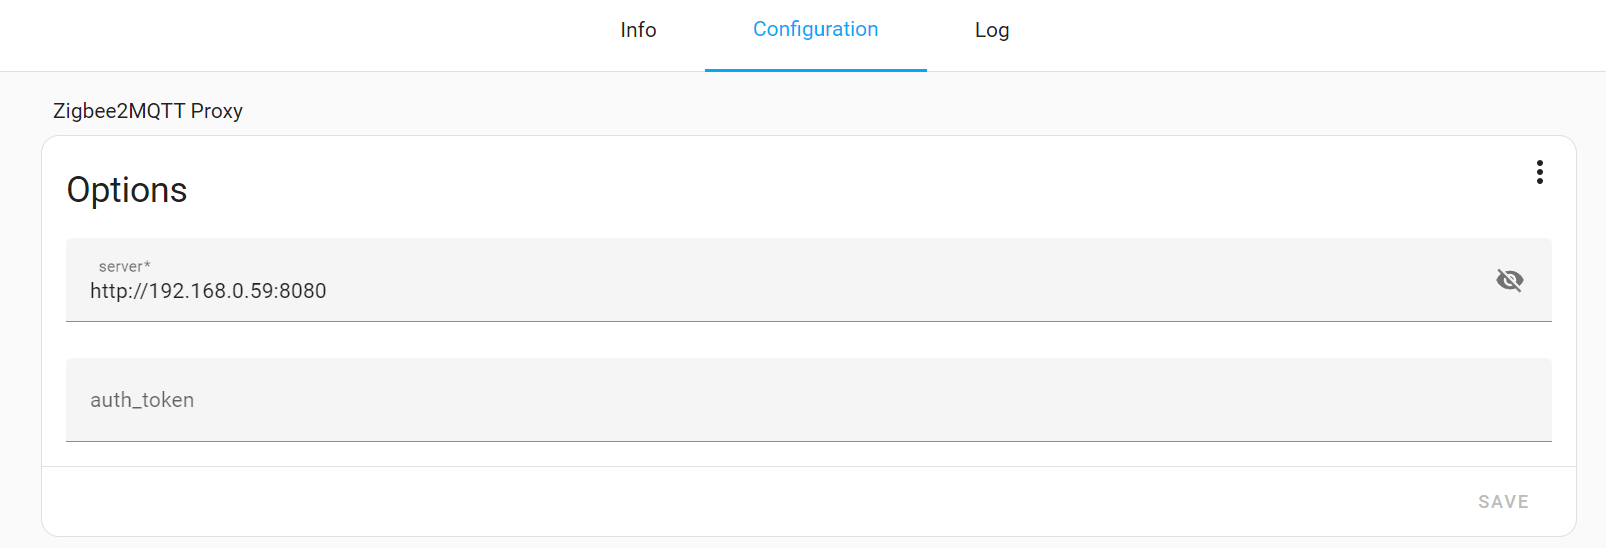
Optionally, you can also add the z2m frontend web page in your home assistant set up. In add-ons, install “z2m proxy” and set the webpage address in configuration tab.